This content of this site is still in development.
Trash
If you delete any files while working in your site, they are temporarily placed into the Trash before being deleted permanently, just like the trash or recycle bin on your personal computer.
Most sites are configured to empty the trash automatically after 30 days, but you can follow these steps to assess the contents on a case by case basis.
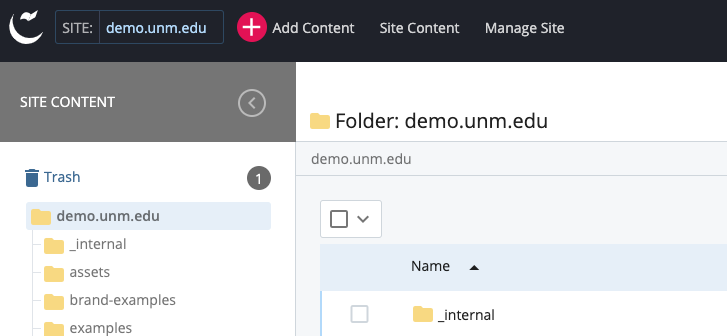
You’ll see the trash located in the Site Content panel on the left. Simply click on the name to access the folder.,
 In the main panel, you’ll see a list of all the files that are in the trash.
When you click the checkbox next to your file you will see 2 new buttons above the list: a left-pointing arrow for restoring files, and a trash bin for deleting them permanently.
Choose the option that applies to the action you’d like to take. If you choose the delete function, you will be prompted by the browser to confirm your choice.
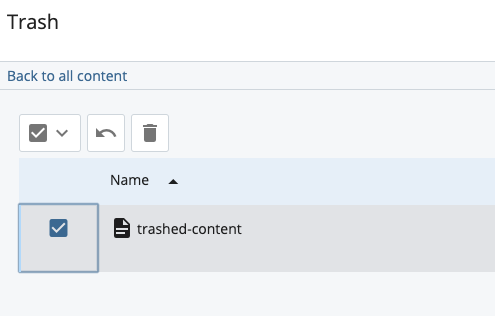
If you want to do a bulk action for all the files in the trash you can click the checkbox above the list of files to select them all, and then restore or delete them.
