This content of this site is still in development.
Adding a Content Block to a Page
Content Blocks can be added to your site in a few different ways. The most common ways will be adding them to individual pages or adding them to a Configuration Set to allow them to be used throughout your website.
- In the “Site Content” tree on the left panel, click on the page you want to add the Content Block to
- Select the “Edit” Icon in the toolbar on the top right
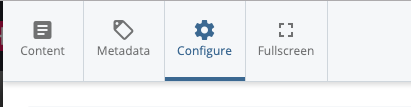
- Select the “Configure” Icon/box at the top of the page overlay
- Click the "Choose Block" text in the Region you wish to add the Content Block.
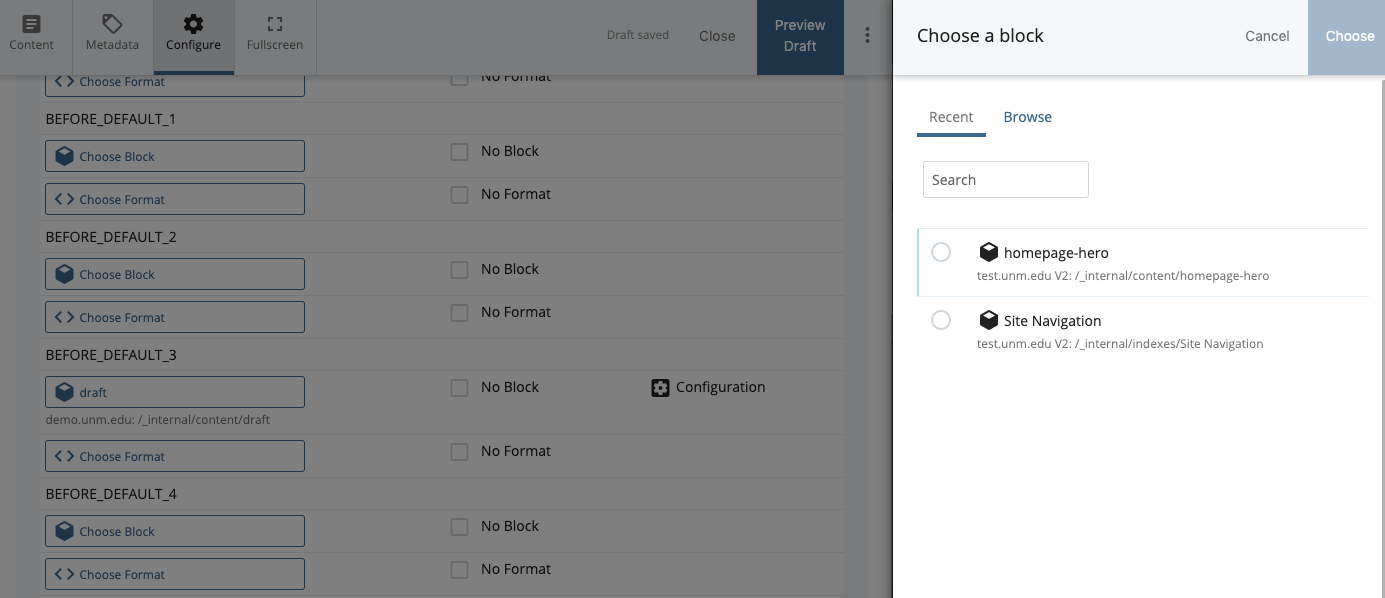
- A list of the most recent Assets will appear. If your Content Block is in the list just click it to select. If your Content Block is not in the list click “Browse” and select it using the Asset chooser that appears (content blocks are housed inside /_internal/content by default)
- In most cases, you will ignore the Format option in the region. These are only used for Content Blocks that are XML data rather than HTML content.
- Select Preview Draft and review your content block, then select “Submit”
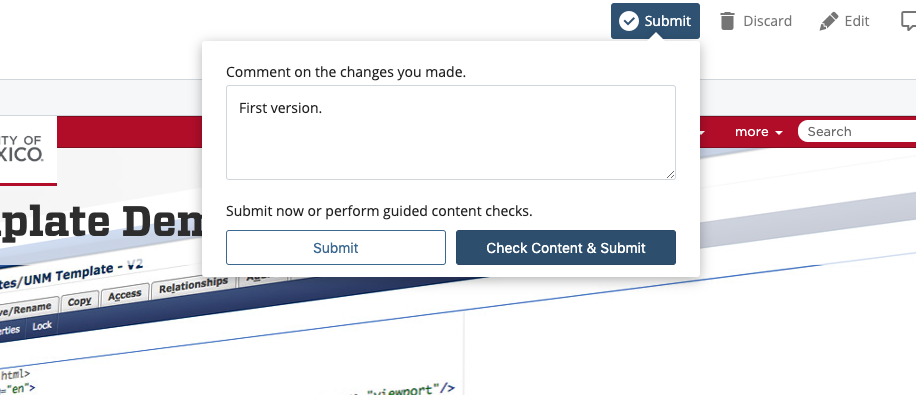
- Once you select “Submit”, Cascade will display a generated comment on the changes that you made, which you can feel free to edit.
- Select “Submit” to finalize your edit, or
- Select “Check Content & Submit” to have cascade perform a Spelling, Broken Links, and Accessibility check; select the blue checkmark to finalize the submission.
- You should see the message “Your changes have been saved to the system! Would you like to publish them?"
- At this point, you can continue to publish or publish your changes later using the manual publish process.
